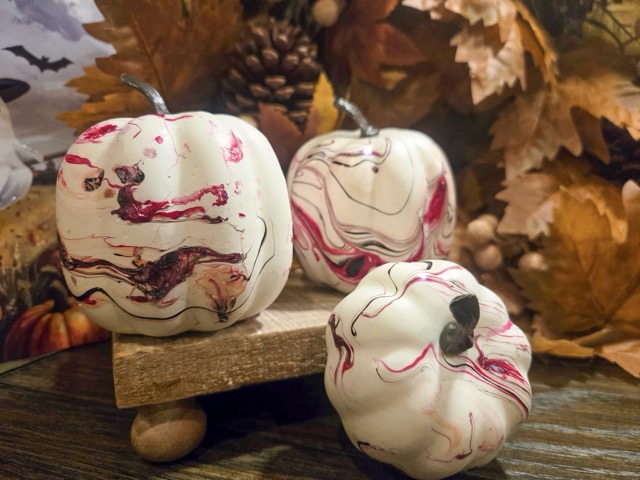


Pumpkin Craft
By Mia Rotell and Lauren Rotell
Three little pumpkins are looking for some fun … they find some paint, and the mischief has begun!
What You Need
– Small plastic centerpiece pumpkins
– A bucket
– Water
– New nail polish
– Wax paper
– Disposable gloves
How to Make It
Step 1: Fill the bucket about halfway with water.
Step 2: Lay wax paper over your counter to protect your workspace. This is where the pumpkins will go to dry.
Step 3: Put on disposable gloves — or put your hands in gallon-size resealable plastic bags.
Step 4: Unscrew your nail polish, place the brush to the side, and, using a circular motion, pour the nail polish into the bucket of water.
Step 5: Repeat Step 4 with different colors of nail polish, pouring them in different directions, until you are satisfied with the design.
Step 6: Hold the pumpkin by its stem and turn it at an angle so most of the side hits the water first. This is where the design will be, so you don’t want it on the bottom!
Step 7: Push the pumpkin into the water, fully submerging it. Then, remove it and place it on the wax paper.
Step 8: Repeat Step 7 for the remaining pumpkins.
Step 9: Allow the pumpkins to dry for at least two hours, then find a cute bowl to display them in.
Step 10: Once they’re dry, you’re done!
Tip: Nail polish is stinky! Open the windows and wear a face mask to protect yourself from the fumes. Less is more when it comes to the amount of nail polish you use — too much can make your pumpkin look goopy, thick, and muddy.
For More Mia Makes Visit www.zapinin.com