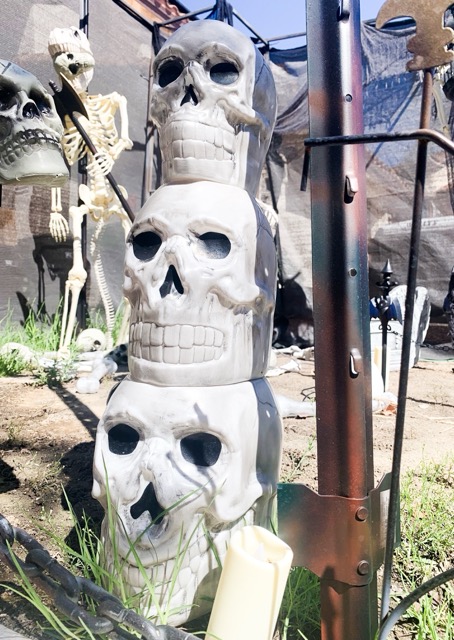


Skeleton Makeover
By Mia Rotell and Lauren Rotell
Half the fun of Halloween is the anticipation, and nothing sets the mood like transforming a front yard into a realm of pumpkins, ghouls, and goblins! But the stark white skeletons straight off the store shelf usually feel way too pristine and plastic-y to really fright. Adding rich color, deep shadows, and weathered details make the final look infinitely creepier!
What You Need
– A plastic skeleton
– Dark wood stain
– A Disposable paintbrush
– Rag or paper towels
– Dropcloth or plastic trash bags (for indoor setup)
Instructions
Step 1: Lay the skeleton flat on the ground. If working indoors, protect the work surface with unfolded paper bags, plastic bags, or a dropcloth.
Step 2: Open the wood stain and dip the paintbrush in. Paint the stain onto the skeleton in small sections — working on one bone at a time.
Step 3: Immediately after applying stain to a section, use a rag to wipe away the excess.
Step 4: Once the entire front of the skeleton is stained and wiped to the desired finish, flip it over and repeat the process on the back.
Step 5: Allow the stain to dry completely before staging the skeleton outdoor
Tip: Leave the stain on longer in crevices, joint sockets, and areas where natural shadows fall before wiping it off to create a darker, aged look!
For More Mia Makes Visit www.zapinin.com